Making 3D feel painted
Sep 27, 2026 · @Shiva Viswanathan
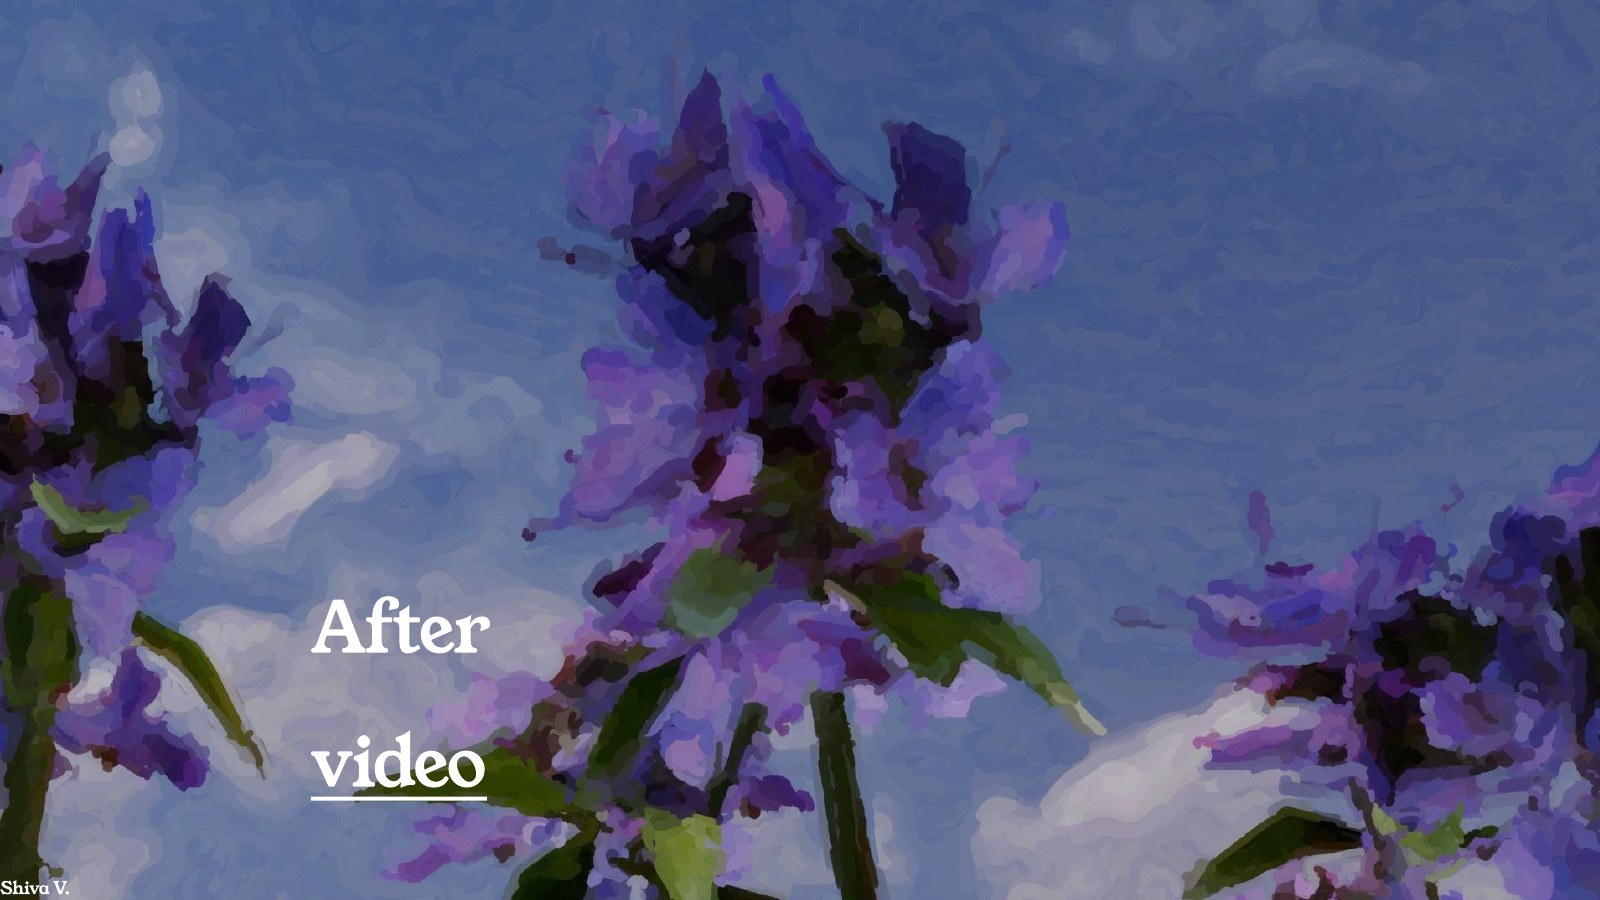
My work is built on one idea: digital work can feel physical and textural. That's why I started a project to make a lot of my work look painterly.
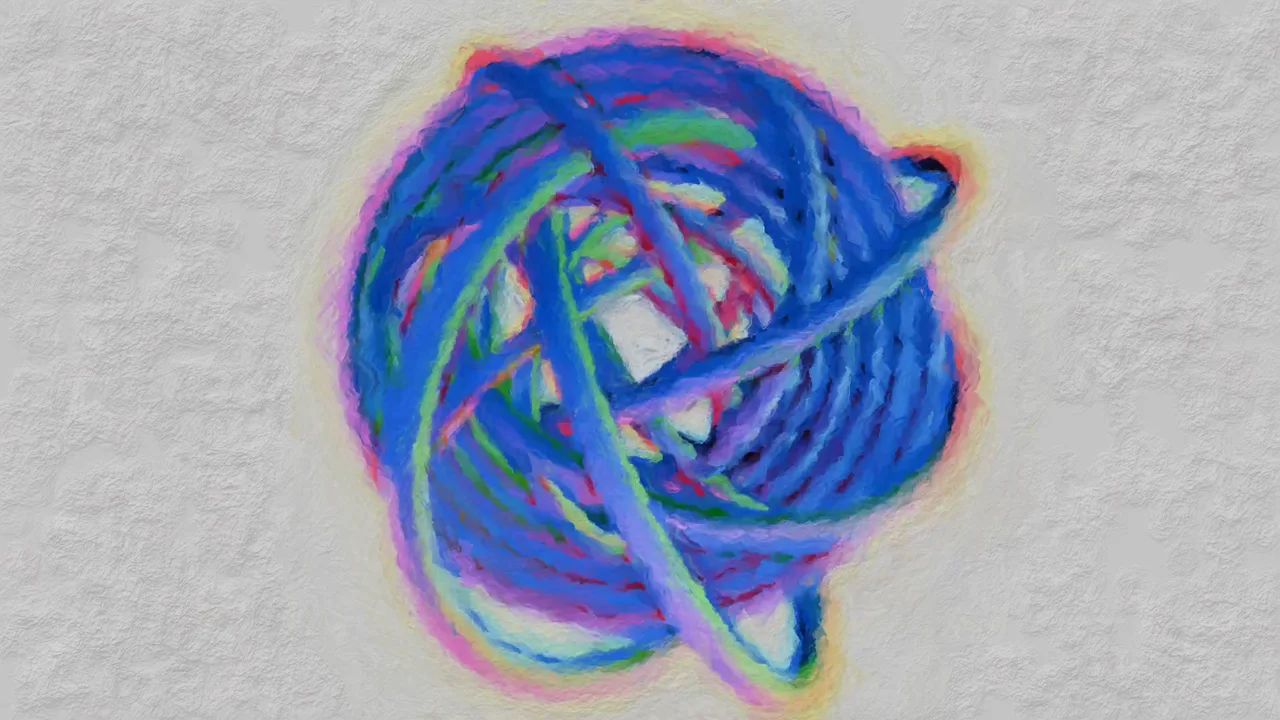
Every piece starts as a Blender render. It's built in 3D with standard textures and standard lighting. Then I post-process it with stroke-based rendering so it looks like it came off a canvas.
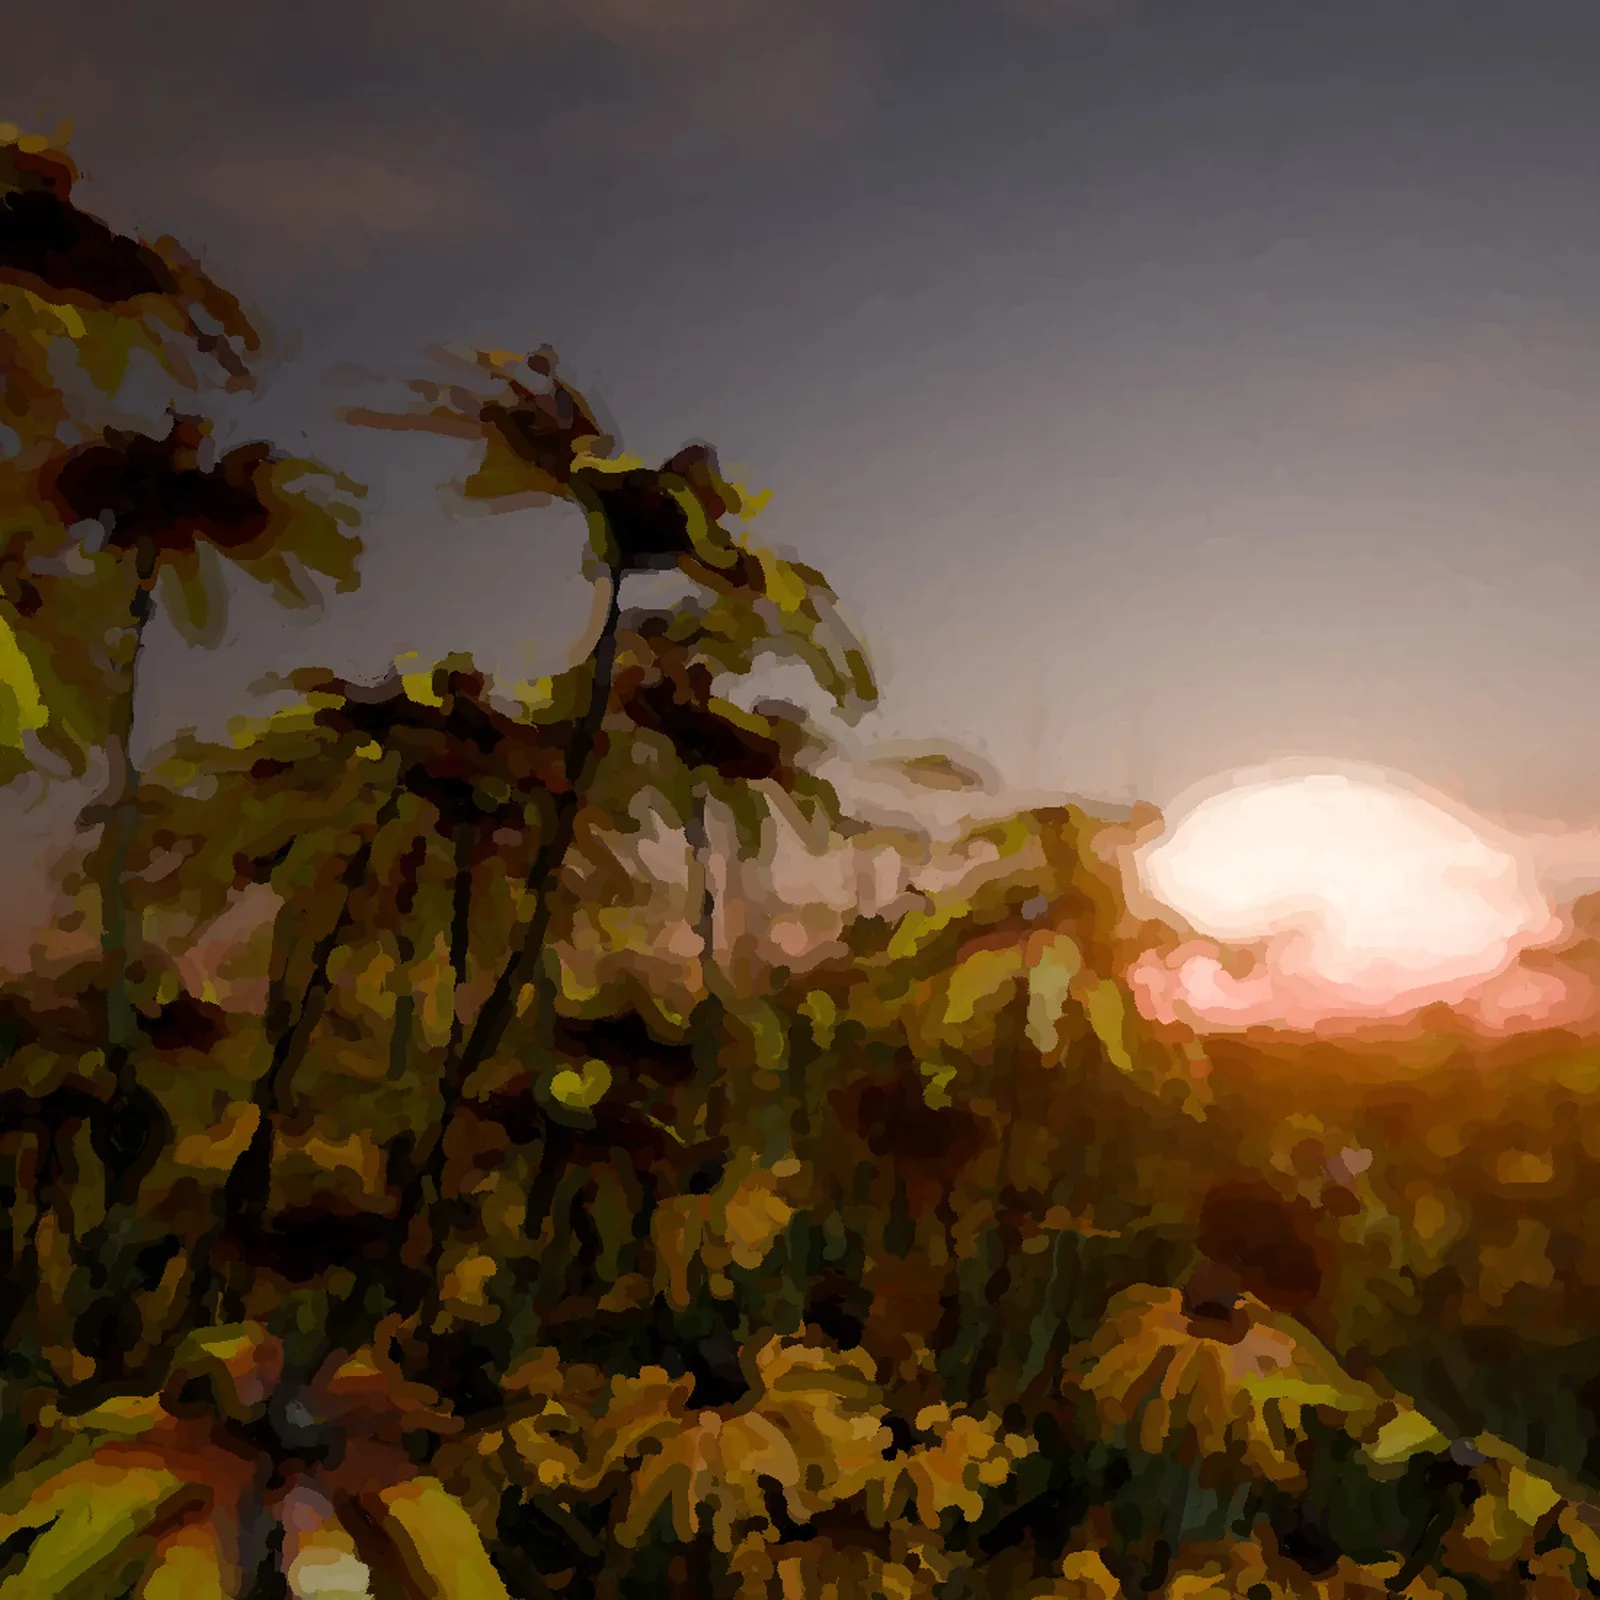
Five years of making something every day
If you don't know much about me, I've made a piece of art every day for almost five years. In that time I've tried every style and kind of imagery I could think of.
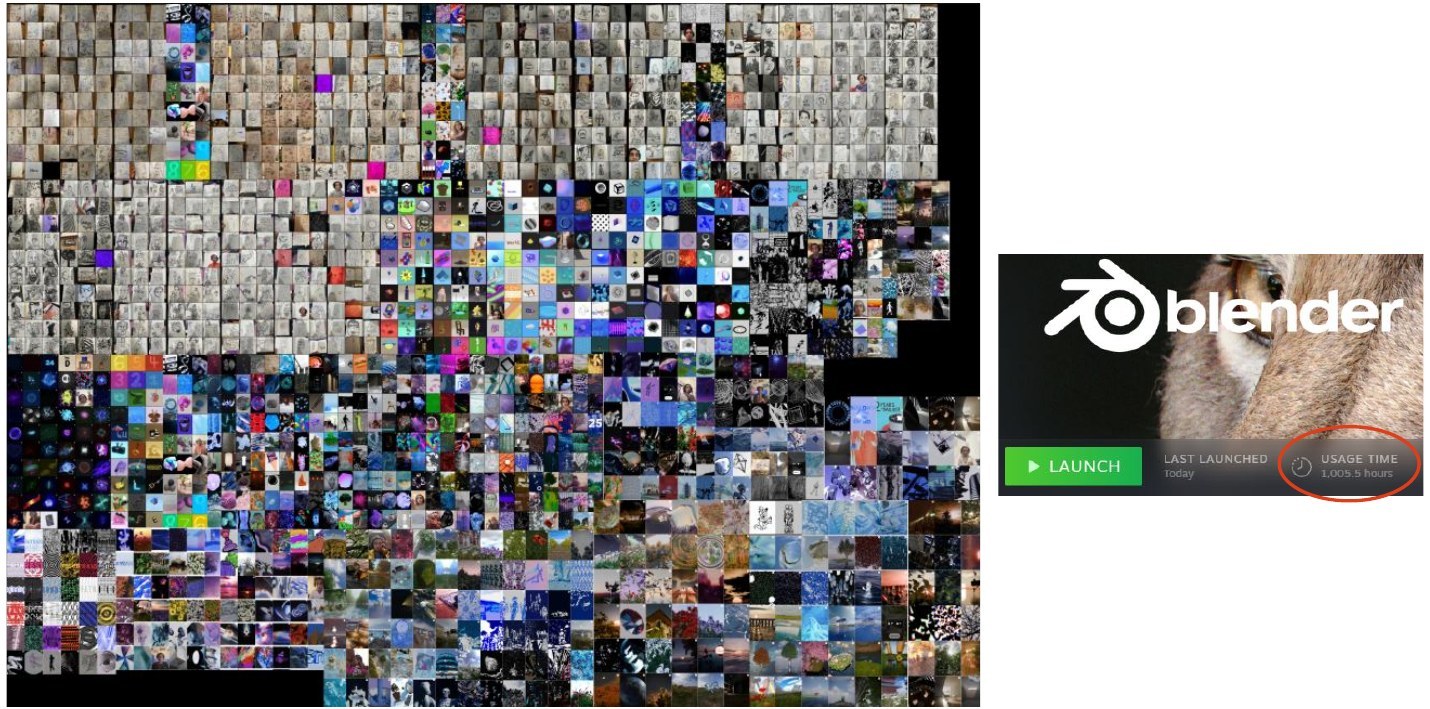
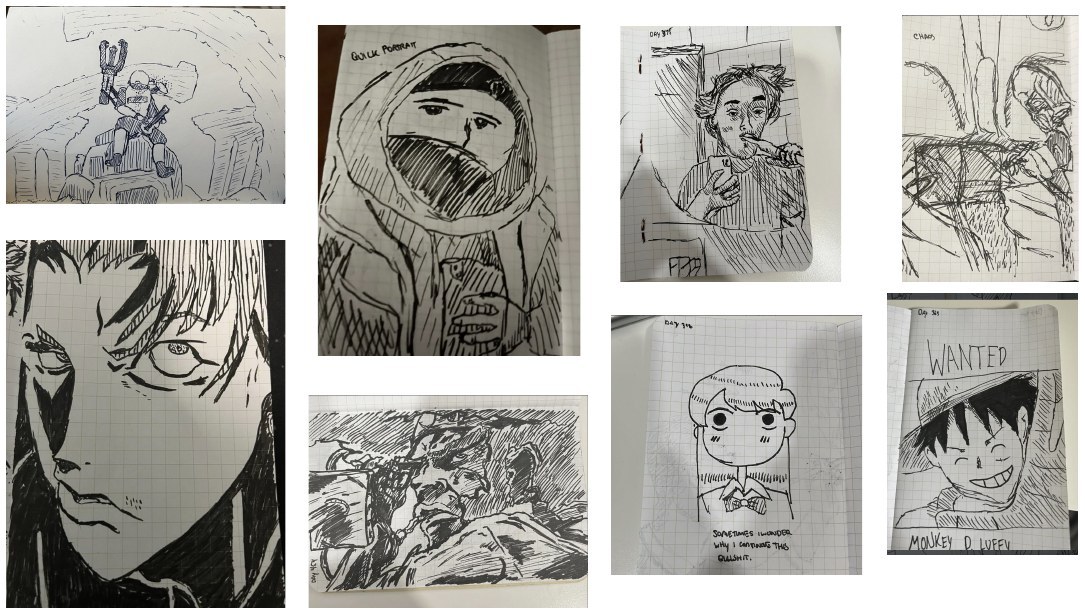
I started with drawing. Drawing every day forced me to learn the fundamentals: good design, lighting, shading, and how to recreate what I see with a pen. That foundation carries into everything I make now. It taught me how things get recreated in a non-photoreal way, and you'll see me use that term a lot. NPR, or non-photoreal, is any rendering that isn't trying to look like a photograph.
After about a year and a half of drawing every single day, I moved into 3D, mostly by accident, thanks to my friend Andri. I started with a program called Womp. Womp builds 3D models out of very goopy materials, and it gave me a simple way to understand how 3D works. It was still traditional 3D with traditional materials, though. I hadn't pushed anything yet.
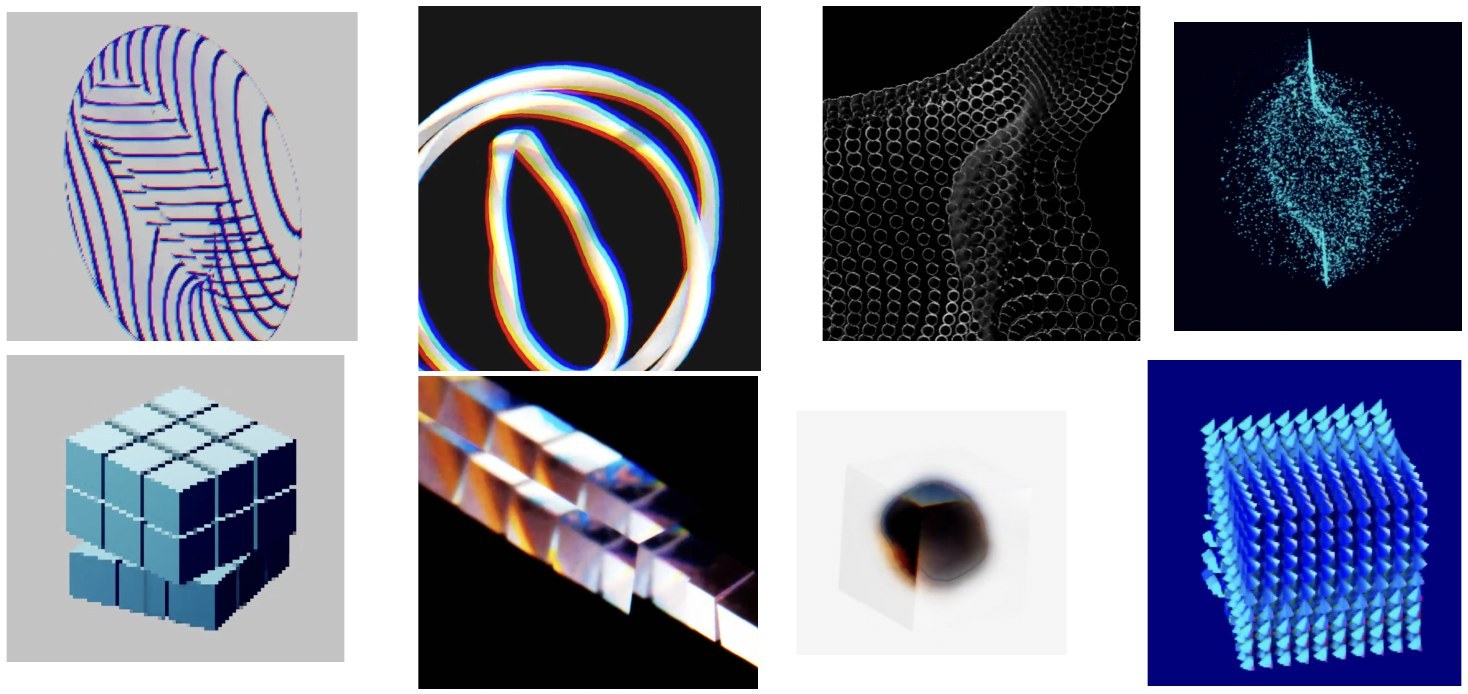
Later I moved to Spline, which is built for putting 3D on the web. Spline lets you push post-processing filters to the limit: pixelation, chromatic aberration, outlines, and a lot of other NPR techniques. That's where I really started experimenting, and it got me closer to the painterly work I'm known for now.
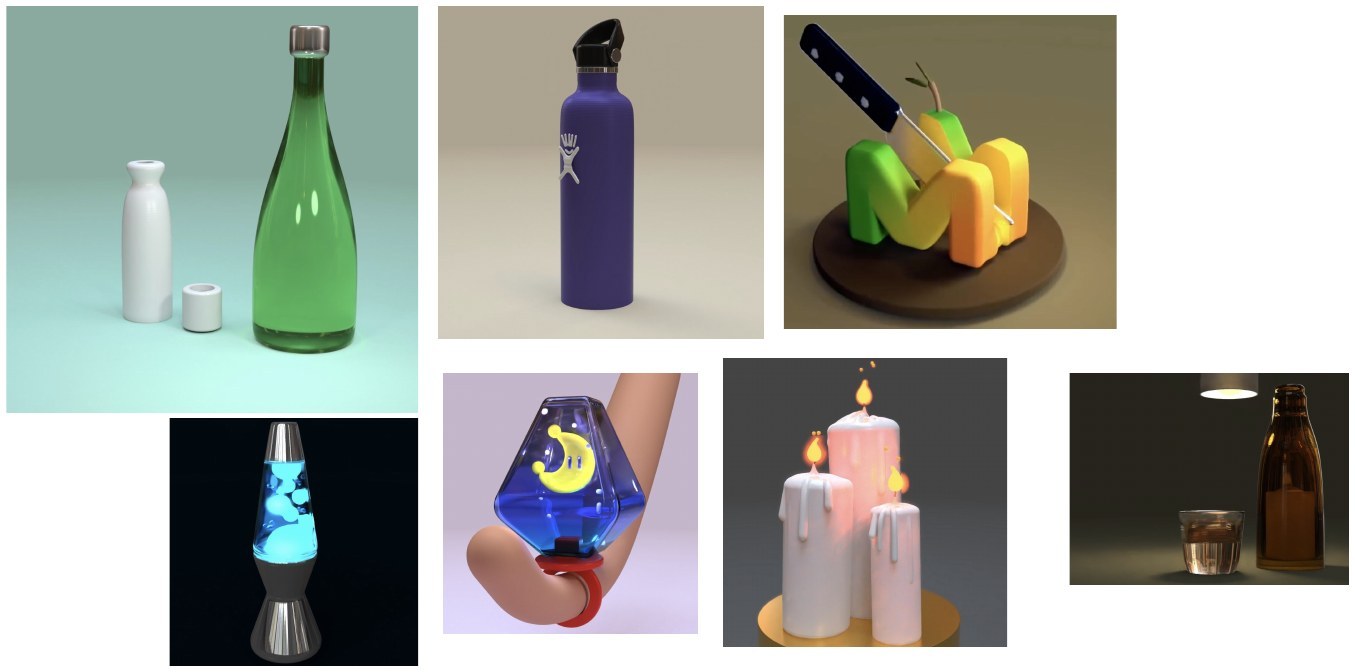
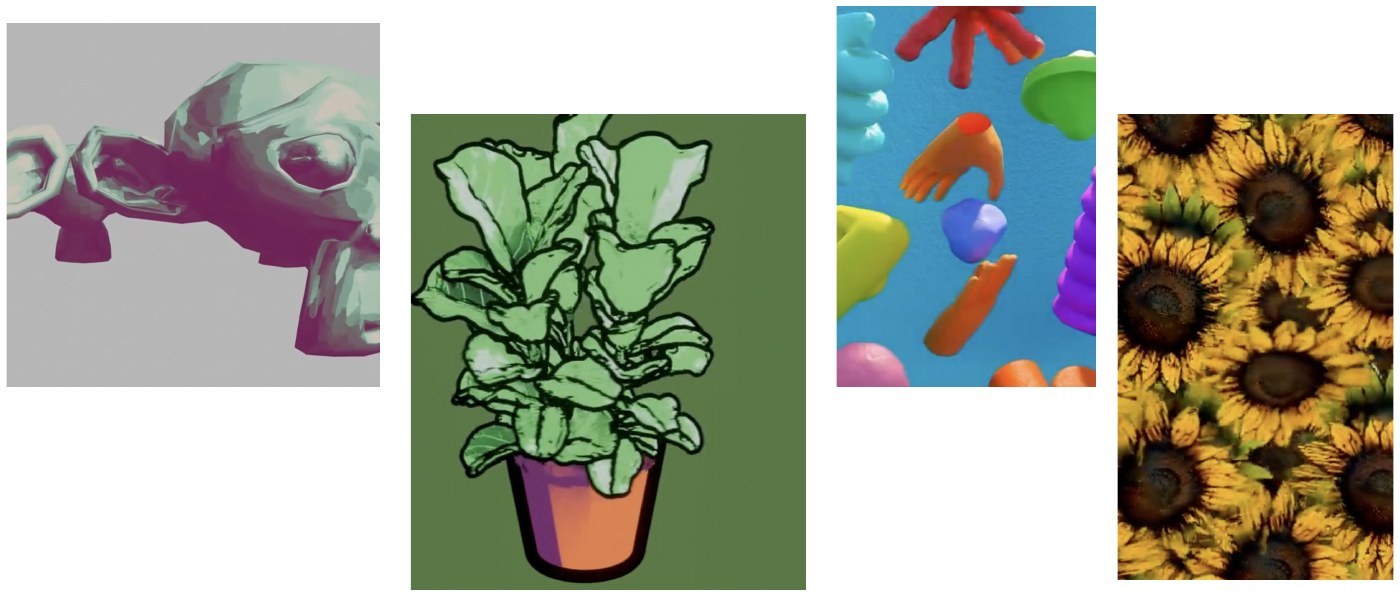
Then came Blender. I'd known about Blender for about 10 years and was always too scared to learn it. When I finally picked it up, I fell in love with its NPR tools right away: Grease Pencil, toon shading, dithering, halftones, anything that makes a 3D model stop looking photoreal. I'm now past 1,000 hours in it.
Why I don't chase photoreal
I avoid photoreal because it's very, very hard. It takes a ton of detail and effort. Textures have to look weathered and worn, and even then it's difficult to pull off.
When beginners attempt photoreal 3D, you can tell right away that something is off. 3D has an uncanny valley, just like the human face. Masahiro Mori coined the term for robots that look almost human, and CGI humans fall into the same trap.
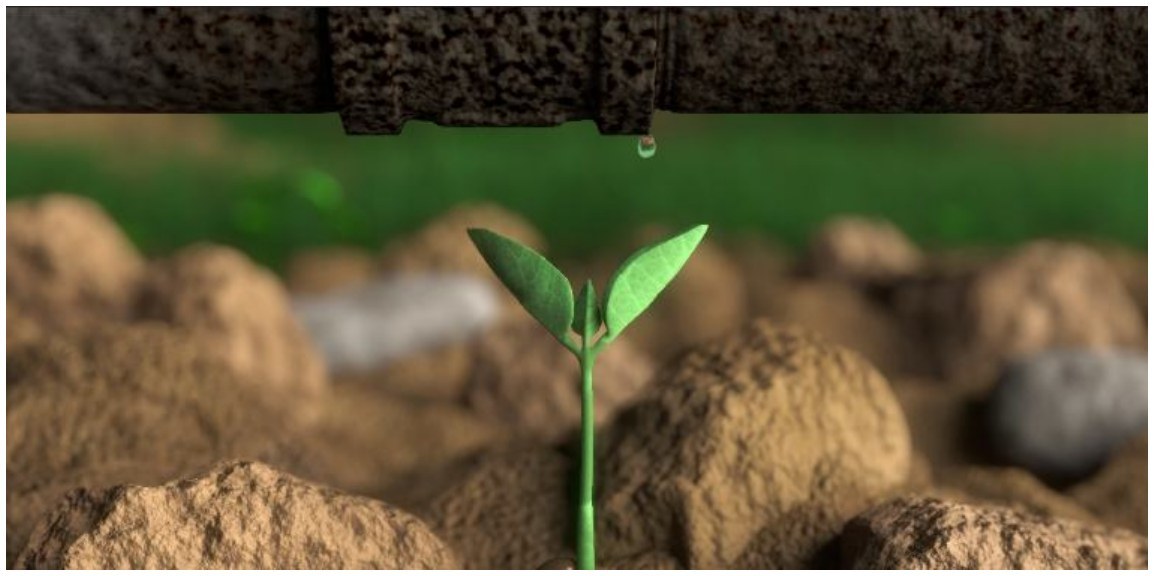
Photoreal comes from compounding imperfection. Erosion, wear, scratches, all the things that go beyond the base color of an object are what make it read as real. That's a lot of work, and I make something every day. I can't make something photoreal every day with the time it takes.
Simplifying the style saves time. So I settled on painterly, simple, and non-photoreal. The next question was how to actually get there.
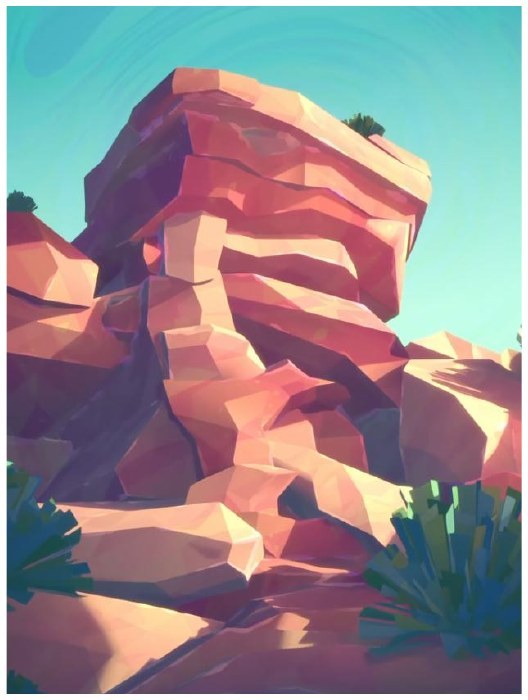
Ways to make 3D look painted
There are a few ways to make 3D look painterly, and I tried to learn from all of them.
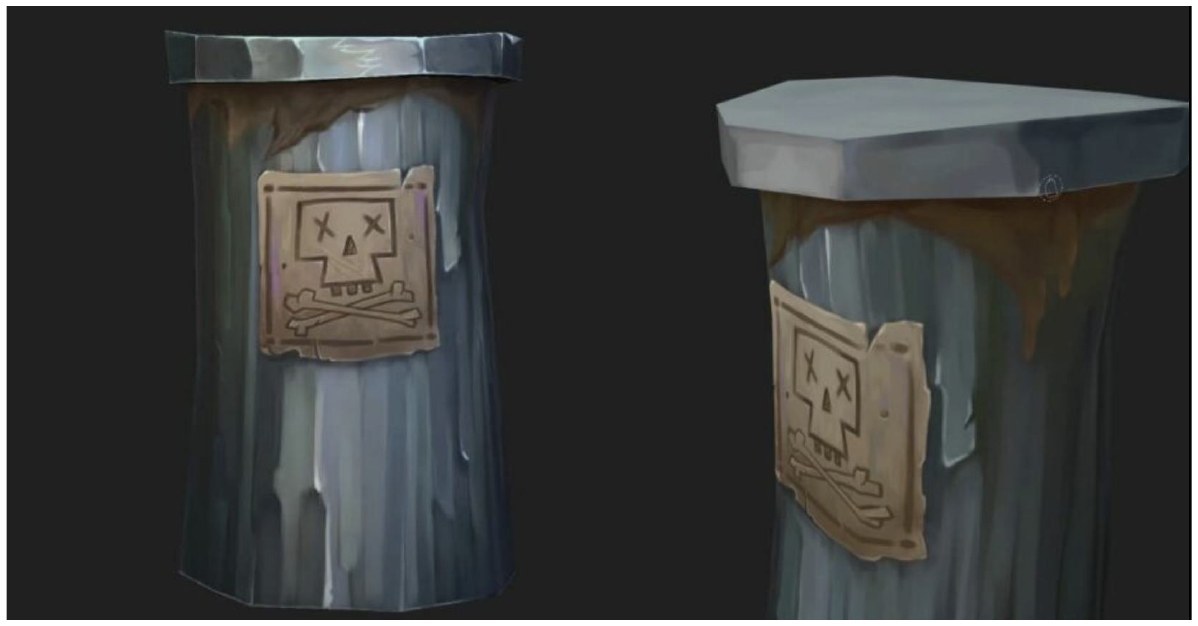
The first is to paint the object itself. You take a 3D model into another program and paint directly on it. That's how shows like Arcane and films like Puss in Boots got their look: artists drew the textures onto the objects by hand.
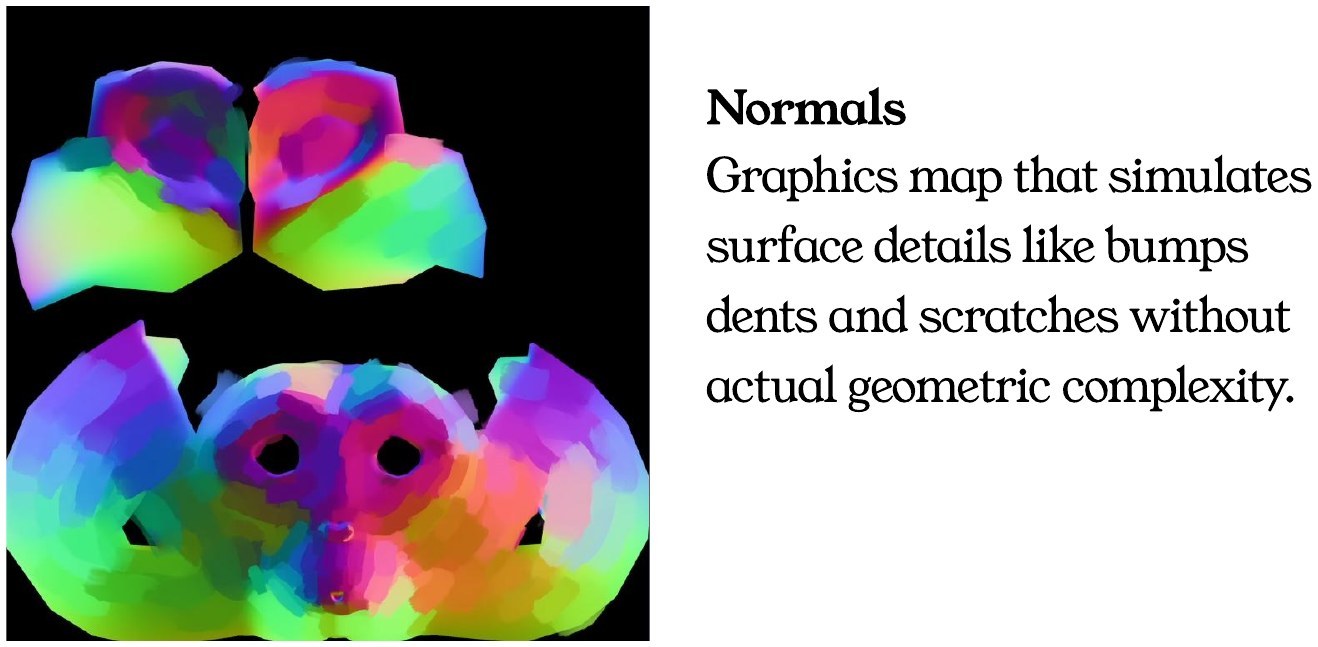
The second is to modify the normals. A normal map is a graphics map that simulates surface detail like bumps, dents, and scratches without adding real geometry. If you simplify that map from a smooth gradient into flat color splotches, then light the object with those modified normals, you get something that reads as painted.
Both of those take a lot of time, so I looked into doing it algorithmically. Kuwahara is an old image filter that flattens and splotches out color values.
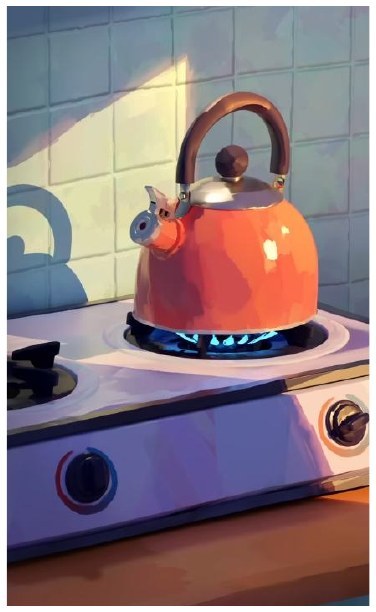
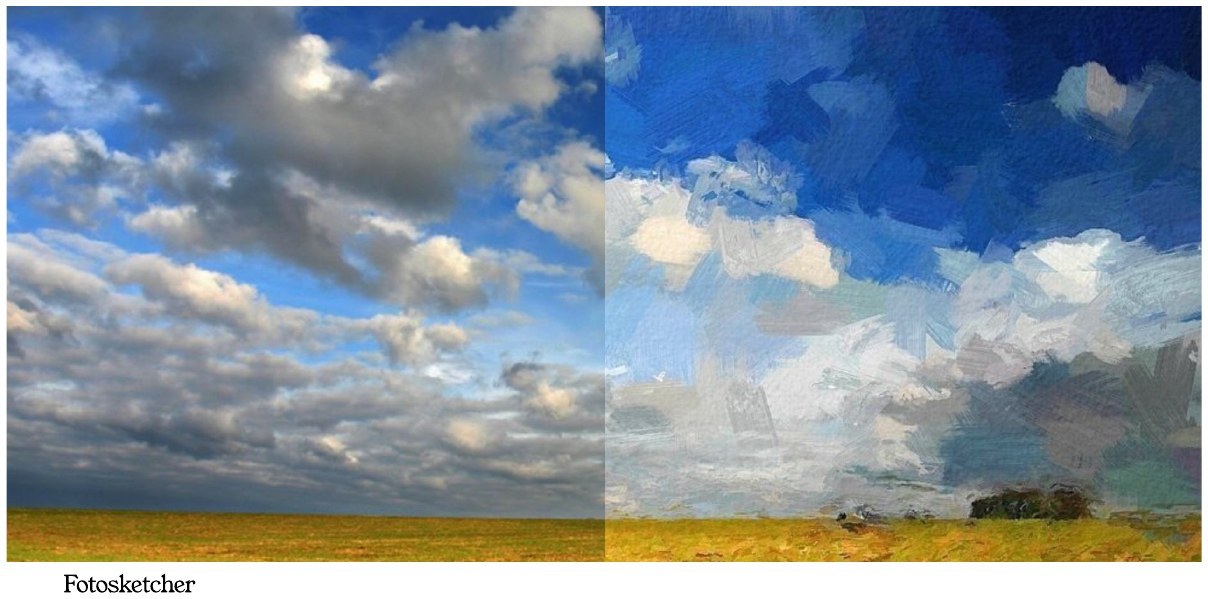
There are also tools built for this. The Tradigitals Live Paint Filter add-on for Blender and Fotosketcher both lay physical-looking strokes over an image, which was exactly what I was after.
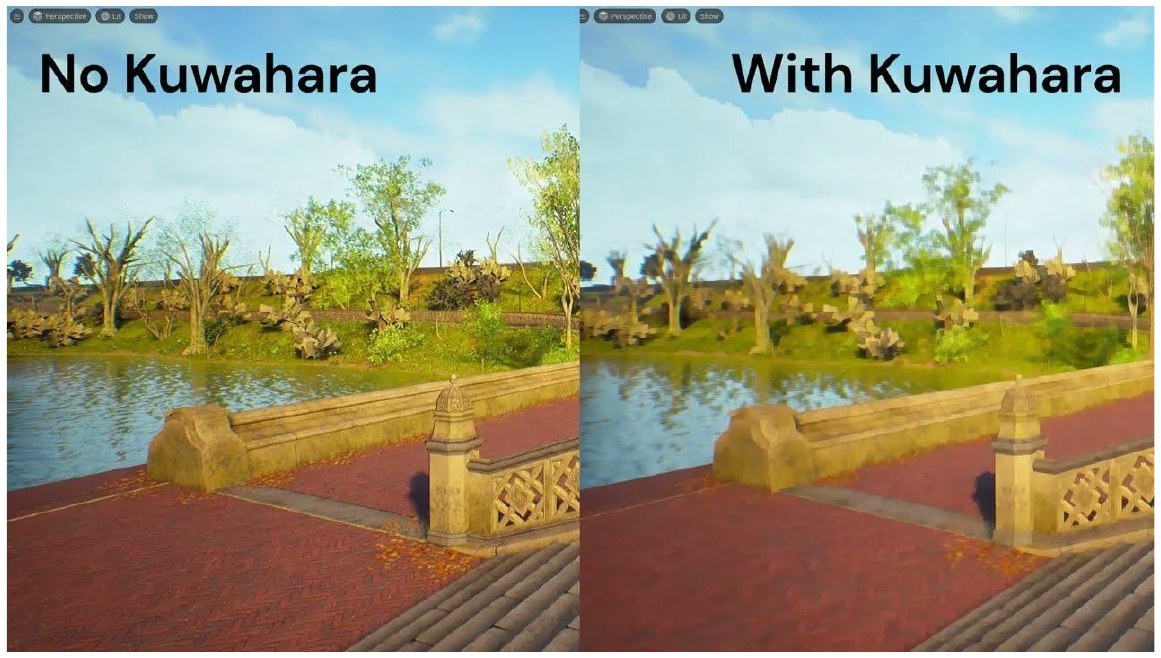
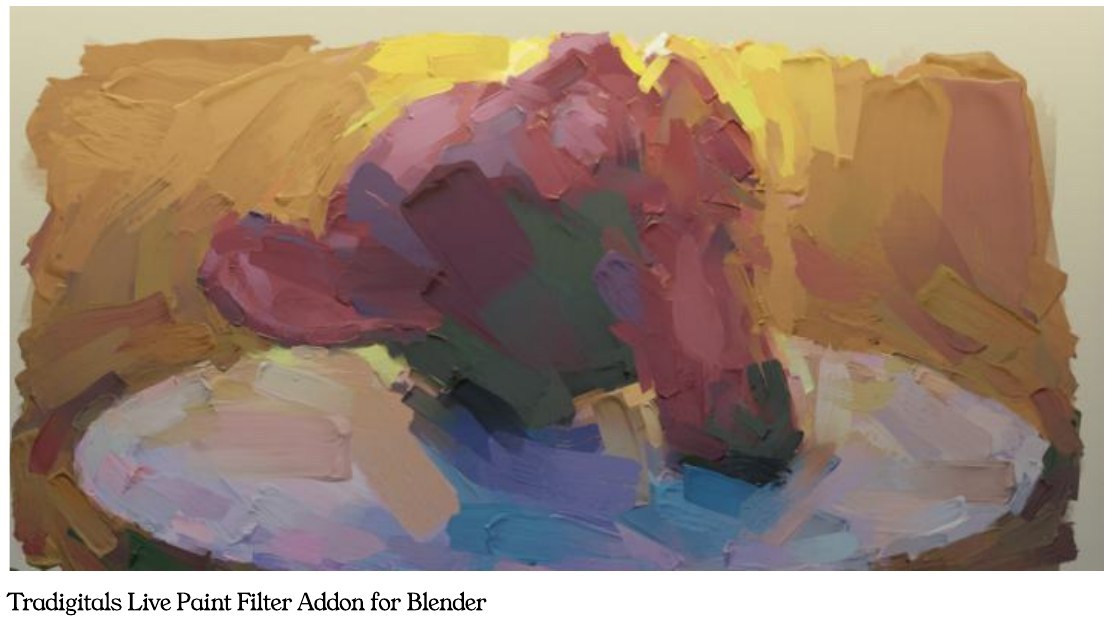
The Tradigitals Live Paint Filter is paid, runs on very dense Blender node trees, and I couldn't follow the math behind it. Fotosketcher is closed source, slow to render, and wasn't built to output video. Kuwahara flattens color but has no texture, so it never looks like strokes. And painting the object or the normals by hand is way too manual for something I make every day.
None of them fit, so I needed to build my own.
Building on Hertzmann
I set four criteria for my own painterly method:
- Open source
- Good for video
- Easily accessible
- Automated batch export

I started with Aaron Hertzmann's stroke-based rendering algorithms from 1997 and 1998. Hertzmann did his PhD in computer science at NYU under Ken Perlin, pioneered stroke-based rendering, and is now a researcher at Adobe. He's spent about 30 years in computer graphics and vision, and his papers are all public.
When I read his work, I saw how close it was to the Impressionists. They laid brush strokes over each other until the viewer got an impression of the subject. Keep layering strokes and eventually you have a full painting.
His research became the backbone of the project, and his papers guided how I implemented it. Because it's all code, there are no neural or AI tools involved, and nobody charges me to paint brush strokes. I started with very simple flat strokes layered on top of each other and played with opacity until the look felt right.
Paintify
The first version was a web app I called Painterly Image Creator Web. It's now Paintify, the first project in my series of painting tools.
The workflow is simple. I build and animate a scene in Blender and render it out as an image sequence.
Then I load the whole batch into Paintify and run the algorithm. The controls are brush radii from coarse to fine, stroke length, curvature, error threshold, grid factor, and opacity.
The painted frames go back into Blender's video editor with music, and that's the final piece.
My mission with Paintify is to let the input be whatever you want and let the painterly look be the overlay. People should control what goes in, and the tool should handle the style.
Here's what sets it apart from other painterly software:
- It's built on Hertzmann's research, which spans 30 years.
- It has salience. The program finds the objects in the frame and identifies the boundaries between colors.
- It paints knowing the output is a video. It doesn't repaint every frame from scratch; it builds on the previous frame, which prevents mass flickering.
- It's mostly dependency free, with C++ for the GPU version and JavaScript for the web.
And it's made for me, which is the part I care about most.
Paintify / across tools
The Paintify family
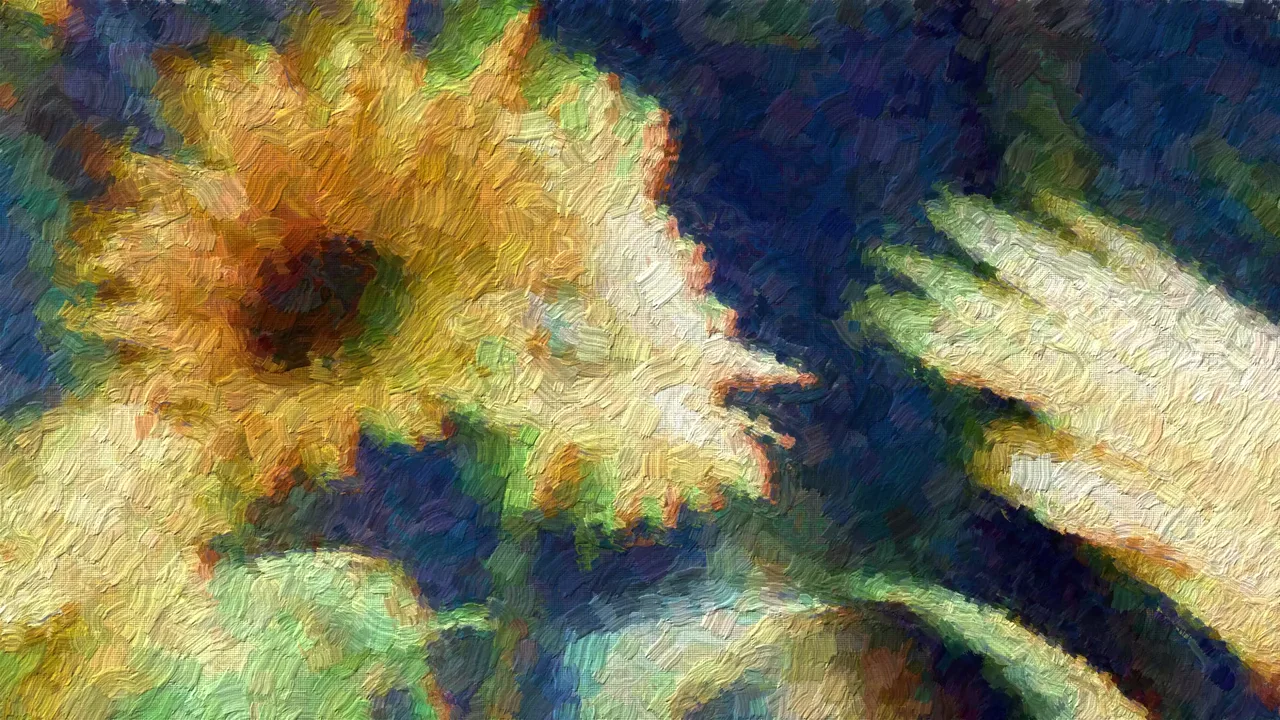
These studies come from Paintify-GPU. Its companion projects bring the painterly process into Blender, TouchDesigner, and OBS.
Why this matters to me
My reasons for making this are close to what happened in the 1800s. Painters used to be the people you went to when you wanted the real world recreated. There were no photographs, just people who were very good at making things look real.
Then the camera showed up, and painters no longer had to record reality. So they went abstract. They went looking for meaning, color, and vision in things beyond what was in front of them. I think that's beautiful, and it's close to what I'm trying to capture with this work.
What's next
Paintify now has versions for the GPU, Blender, TouchDesigner, and OBS. I’m still working on the desktop version and figuring out how far this can go. You can try the web app at paintify.shivav.space, or dig into the repos below.
Heavily inspired by the amazing Maxime Heckel.
blog.maximeheckel.com/posts/on-crafting-painterly-shaders
Follow along on Instagram at @daysofshiva for the daily art and @shivaviswan to talk, or on Twitter at @shivaviswan.